

Video guide coming soon
Get started now with our written instructions.
Practical use
Use controlled depth and stay around the muscular tissue.
How it works
Lower-back trigger points can benefit from deeper elbow-style pressure. Begin with control, stay beside the spine, and use broader support when the area needs a gentler approach.
Get started now with our written instructions.
Practical use
Use controlled depth and stay around the muscular tissue.
Recommended pressure type
Best starting point for this zone.
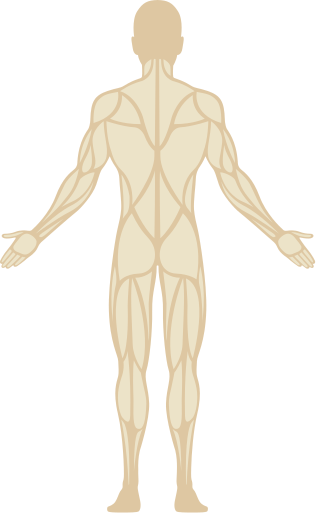
Lower-back trigger points often sit deep in the muscle beside the spine. An elbow point gives the focused depth this area typically needs.
Use safely
Begin with light pressure and increase gradually only while it remains comfortable. Stop if you feel sharp or increasing pain, numbness, tingling, dizziness, or unusual weakness.
Recommended tool
How to use
Follow the steps in order, from setting up the tool to working through the area.
Get Into Position
Rest against the floor or the back of a chair.
Position the two elbow points beside your spine, in the lower back.
Keep off your spine, hip bones, and lower ribs.
Apply Controlled Pressure
Lean back gradually rather than dropping your weight on.
Stay in place while the pressure feels controlled and manageable.
Shift slightly to reach the next tender spot.
Related zones
Neck & base of skull
Explore neck and skull-base guidance
Upper traps & shoulders
Explore upper trap guidance
Back of arm & tennis elbow
Explore arm and outer-elbow guidance
Mid-back
Explore mid-back guidance
Glutes & hips
Explore glute and hip guidance
Hamstrings
Explore hamstring guidance
Calves
Explore calf guidance